Finally see and capture the Northern Lights in Iceland!
A practical, step-by-step guide to finding the aurora
Under Northern Skies
Iceland

We’ve seen the Northern Lights many times – but we’ve also made every beginner mistake you can imagine!
Most people think seeing the Northern Lights in Iceland comes down to luck.
But in reality, it’s usually down to preparation.
If you know what to look for—and when—you massively increase your chances of seeing them.
On our first Northern Lights encounter, we were overwhelmed and completely confused by the forecasts. Our photos were either blurry, grainy, or way too dark because we didn’t know what settings we needed.
But after years of chasing the aurora, we’ve learned exactly what works – and what doesn’t. We’ve refined our technique and figured out how to capture the lights with confidence!
So here’s how to go aurora hunting like a pro—without relying purely on luck!
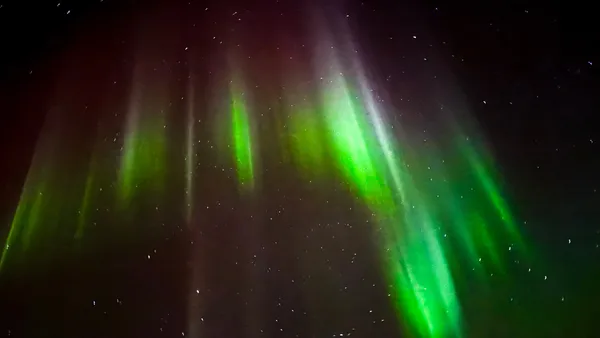
STEP 1: PICK THE RIGHT TIME OF YEAR
This is the most important part.
You cannot see the Northern Lights in Iceland all year round. During summer, the sun barely sets, and you need complete darkness for the aurora to be visible.
Northern Lights season: Late August → end of March
From personal experience, the best months are September, October, and March — but you can absolutely still get incredible displays outside of that window too.
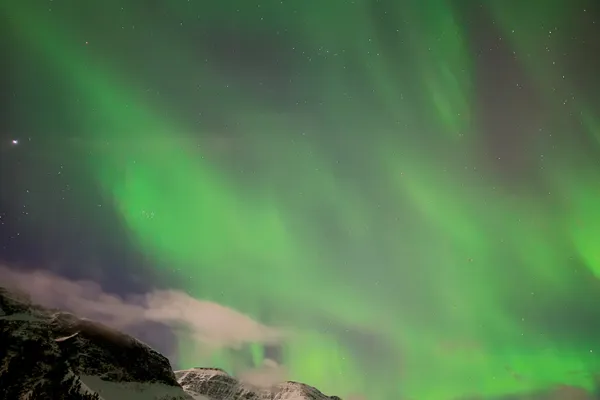
The Northern Lights outside of our hotel in March!
STEP 2: CHECK THE FORECAST
Before heading out, check the aurora forecast from the Icelandic Met Office.
But here’s the key thing most people misunderstand:
👉 The cloud cover matters more than the aurora number.
Even strong activity is useless if the sky is completely overcast.
What you’re looking for:
Areas with clear skies
Aurora activity around KP 2+ (anything higher is a bonus, not a guarantee)
If it’s clear, you’ve got a shot.
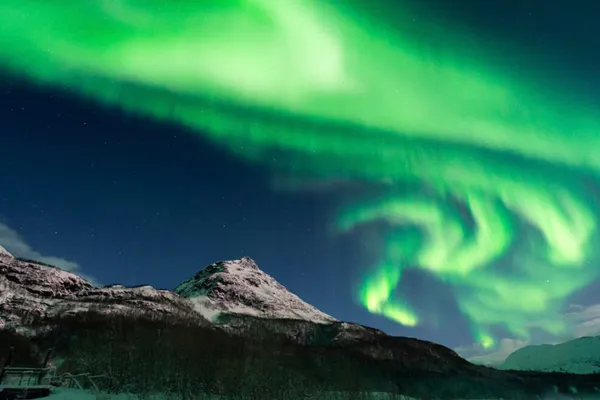
3. FIND DARKNESS
Light pollution will ruin your view faster than anything else.
You might catch a faint glow from Reykjavik if activity is strong—but it’s nothing compared to seeing it properly in the dark.
Drive out of built-up areas, avoid street lights, and give your eyes time to adjust.
The difference is huge.
4. GIVE IT TIME
The Northern Lights don’t run on a schedule.
You can’t just show up, look for five minutes, and leave.
A better approach:
Head out as soon as it gets dark
Pick a good location with open views
Stay there and keep checking the sky
If you’re waiting in your car, turn off all lights.
If you’re near buildings, move away from them.
Sometimes they appear instantly. Sometimes it takes hours.
WANT TO ACTUALLY CAPTURE THEM?
Seeing the Northern Lights is one thing…but photographing them properly is another.
If you want to come home with photos (or videos) you’re actually proud of, we’ve put together a full Northern Lights Photography Guide—covering:
Exact camera settings
Lens recommendations
How to shoot with an iPhone and a camera
How to read forecasts like a pro
And how to avoid the most common mistakes
✨ With the right timing, clear skies, and a bit of patience, you’ve got everything you need to experience the northern lights for yourself.
Now it’s just a case of heading out and waiting!
Want to see more?
I have created curated maps, itineraries and more for travellers that want to travel like me.

Looking for things to do?
Go check out my guide for the best free things to do as well as itineraries and travel tips to make your trip unforgettable.