Before you go
What to prepare before you arrive in Japan
Sigurd Haagensen
Tokyo, Japan

You are going to Japan - amazing!
I know you may be very eager to hop on the flight right away, but there are a few things you really need to have in place before arriving in Tokyo. Once these are sorted, everything else becomes much easier.
Visa
Depending on your passport, many nationalities can enter Japan visa-free for tourism. In most cases, you just need:
A valid passport
A return or onward flight ticket
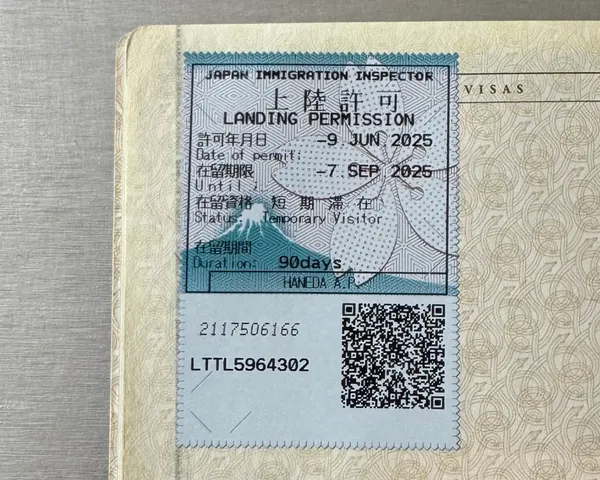
If you meet these requirements, you’ll be granted a 90-day stay on arrival. This is called a Japan Temporary Visitor Visa.
It allows you to travel, explore, and experience Japan freely, but does not allow any paid work. The process is simple and happens directly at the airport when you land.
If you’re unsure, it’s always a good idea to check your country’s requirements on the official Ministry of Foreign Affairs website before your trip.
Arrival Form
When arriving in Japan, immigration can take time - especially if you haven’t prepared in advance.
The easiest way to speed things up is by using Visit Japan Web before your trip.
It’s simple, and it can save you a significant amount of time at the airport.
Here’s how it works:
Register on the official Visit Japan Web platform:
Enter your flight details, accommodation address in Japan, and basic information
Complete the immigration and customs sections
You’ll receive separate QR codes for immigration and customs
Take a screenshot of the QR codes (airport WiFi can be unreliable - better be safe than sorry)
Have them ready when going through immigration and customs
That’s it. You can still fill everything out manually on arrival, but doing it in advance makes the process much smoother — especially after a long flight.
eSIM
To get around Tokyo, staying connected is essential.
You’ll be using your phone constantly - for maps, train routes, translations, and finding places to eat. An eSIM (electronic SIM) is the easiest solution.
Personally, I’ve always used Airalo. In my experience, it’s simple to set up and very reliable.
You can choose between different data plans - from smaller packages to unlimited options - depending on how long you’re staying. If you run out, you can easily top it up directly in the app.
Setting it up before departure means you’ll have connection the moment you land.

How to:
Download Airalo
Install you chosen eSIM (my code SIGURD8850 saves you €3 off your first eSIM)
Activate your new eSIM when you arrive in Japan
Suica and Pasmo
Suica and Pasmo are prepaid, rechargeable IC cards that work as a simple “tap-and-go” payment system. You’ll use them for trains, metro, buses - and even for paying in convenience stores and some restaurants. It saves you a lot of time, since you don’t have to buy tickets for each ride.
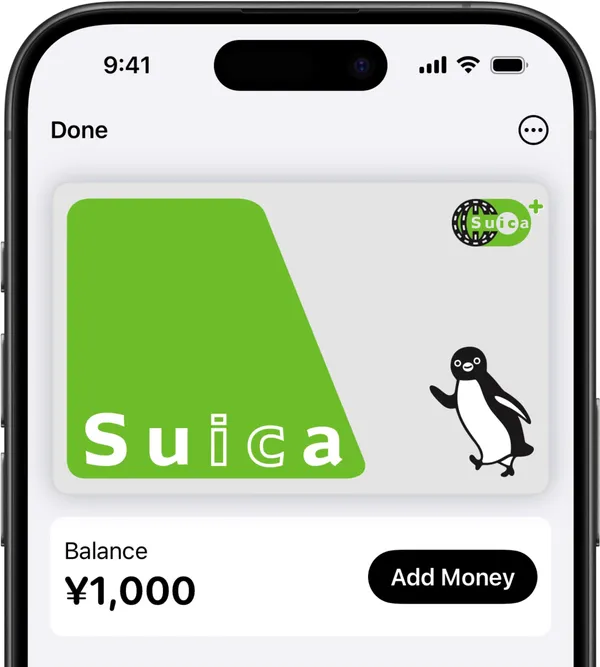
If you have an iPhone, you can add a Suica directly to your Apple Wallet, which is by far the easiest option.
Personally, I always use Suica. It’s simple, fast, and ends up being one of the most used things on my phone during the trip.
A few things to keep in mind:
It can only be set up during Japanese office hours
The setup process is in Japanese, so using Google Translate can help
You can top it up directly from your phone
Once it’s set up, you just tap in and out - no thinking, no stress.
I usually keep it as my main card in Apple Wallet for smooth and easy payments throughout the day.
Cash or Card?
Even though Japan feels extremely modern, cash is still essential.
Cards are widely accepted in hotels, larger stores, and many restaurants - but smaller places, local spots, cafés, and street vendors often prefer cash (or only accept cash).
The easiest option is to withdraw money from an ATM using your debit or credit card. ATMs in 7-Eleven and convenience stores are reliable and easy to use.
If you’re like me - walking through side streets, small alleys, and finding spontaneous places - having cash on you makes a big difference.
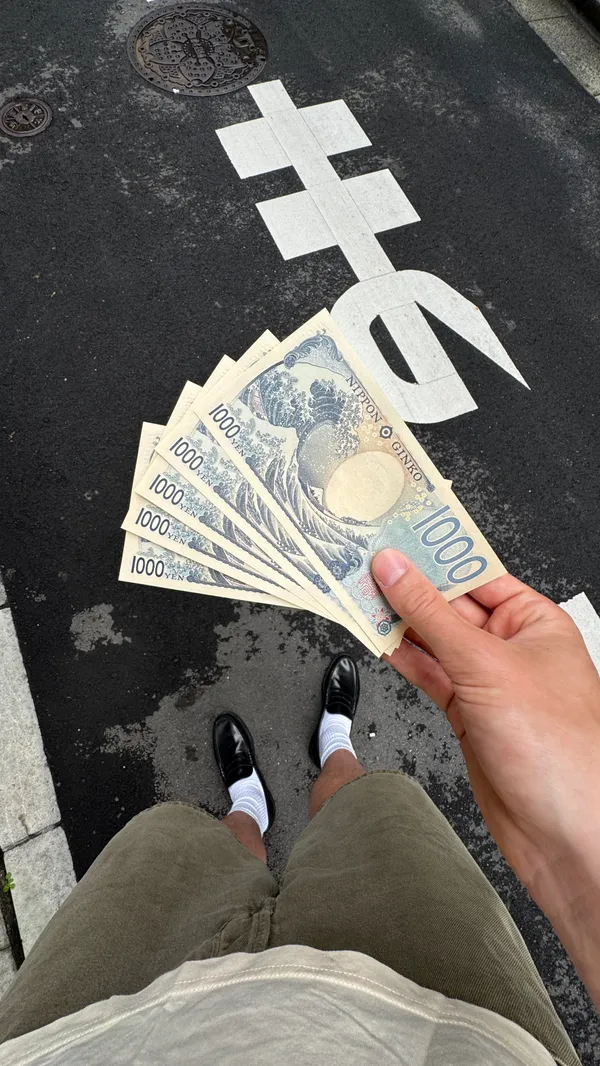
How much should you carry?
That depends on your budget, but here’s a simple example:
¥5,000 can typically cover a couple of simple meals, a small entrance fee, and a spontaneous purchase.
Personally, I always carry a bit more, just to avoid thinking about it.
JR Pass
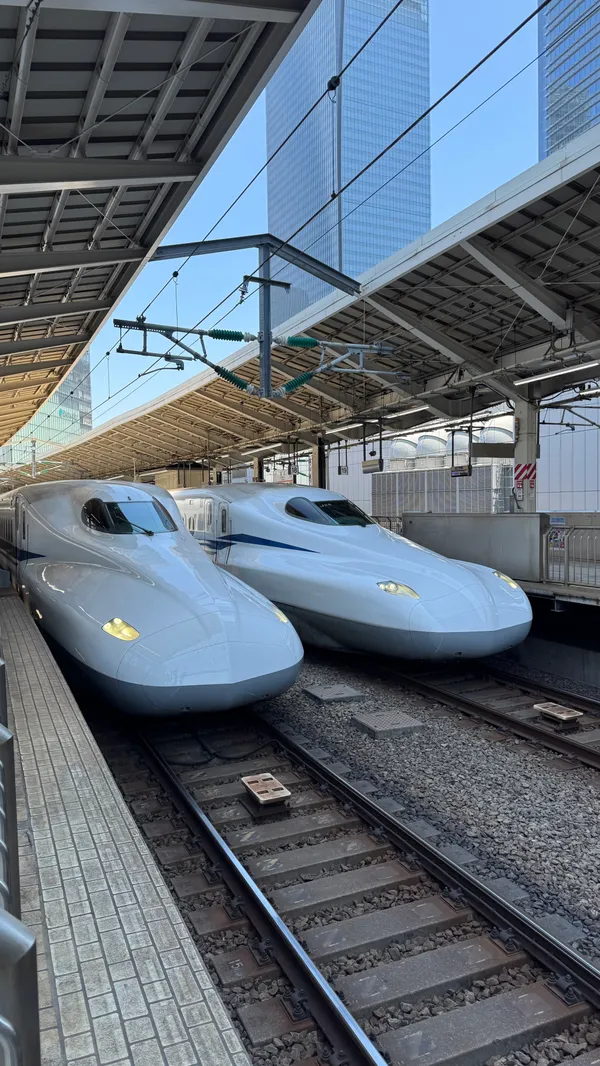
You’ve probably come across the Japan Rail Pass (JR Pass) while planning your trip.
It’s a transport pass that gives you access to most JR trains across Japan, including the Shinkansen (bullet trains), limited express trains, and local JR lines.
In some cases, it can be very convenient. But it’s not always necessary.
Here’s what to know:
It covers most long-distance JR trains, including the Shinkansen
Available for 7, 14, or 21 consecutive days
You can choose your activation date after arriving
Only available to tourists entering Japan on a temporary visitor status
Comes in two types: Ordinary and Green (first class)
→ Personally, I always recommend Ordinary — it’s already very comfortable
Seat reservations on Shinkansen trains are free with the pass
Not valid on Nozomi and Mizuho trains without an extra fee
Prices have increased significantly in recent years. As of now, a 7-day Ordinary pass starts around ¥50,000 (€270).
Do you actually need it?
For most Tokyo-focused trips - the answer is no.
The JR Pass only really makes sense if you’re planning multiple long-distance train journeys, for example:
Tokyo → Kyoto → Osaka
If that’s your plan, it can be worth it. If you’re mainly staying in Tokyo, you won’t need it.
You can check the official website for updated prices and details here.
Additional Apps
You don't need many apps when you are in Tokyo - but a few will make a big difference, and your time away significantly easier.
From navigating train stations to understanding menus, these are the. ones you'll end up relying on everyday.
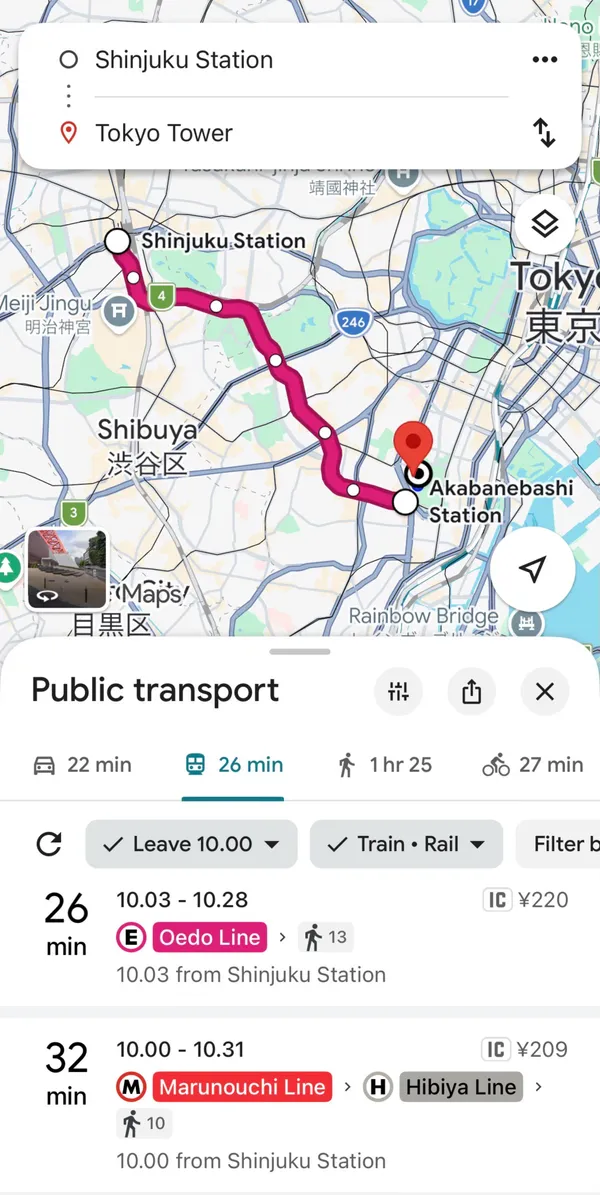
Google Maps
Essential for getting around Tokyo. It shows train routes, platforms, and even which carriage to board for the easiest exit. You'll use this constantly.
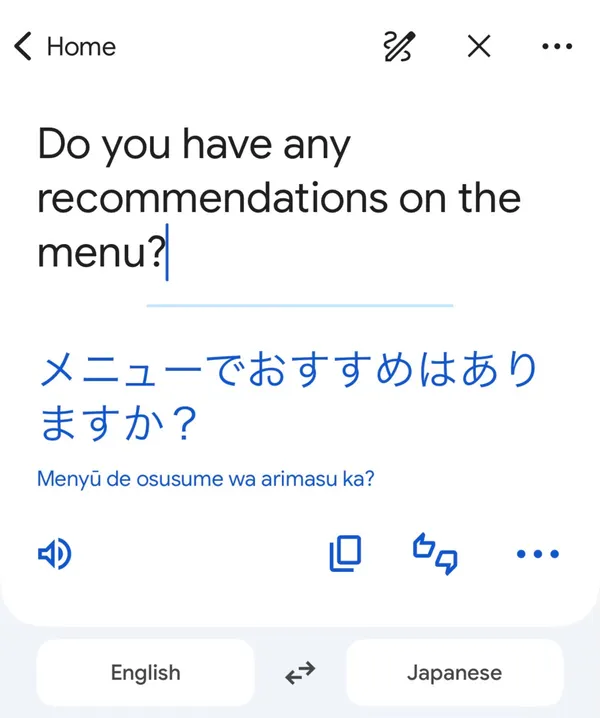
Google Translate
Very helpful for menus, signs and quick communication. The camera feature lets you translate text instantly - just by taking a picture. This makes a big difference when ordering food, navigating smaller places, or just shopping for snacks.
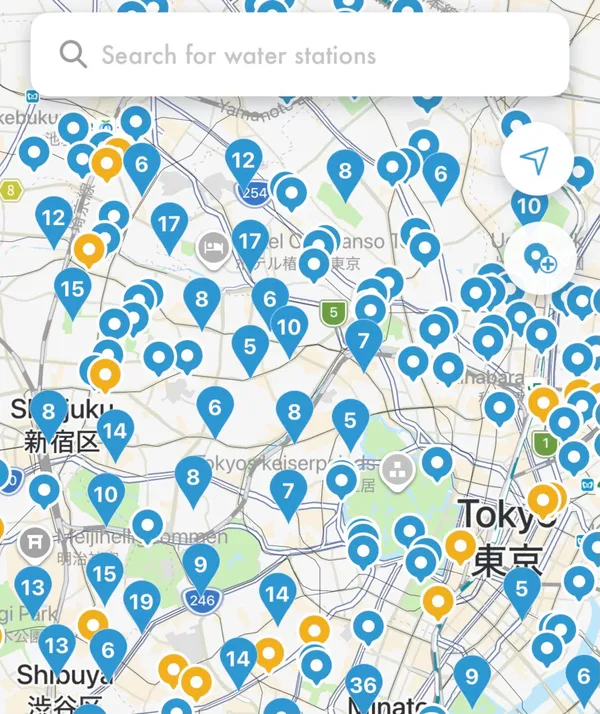
MyMizu
This app is lesser known, but quite the life-saver. It shows places where you can refill your water bottle for free.
It's a small thing, but surprisingly useful - especially since public bins and water stations are limited.
Want to see more?
I have created curated maps, itineraries and more for travellers that want to travel like me.

Looking for things to do?
Go check out my guide for the best free things to do as well as itineraries and travel tips to make your trip unforgettable.