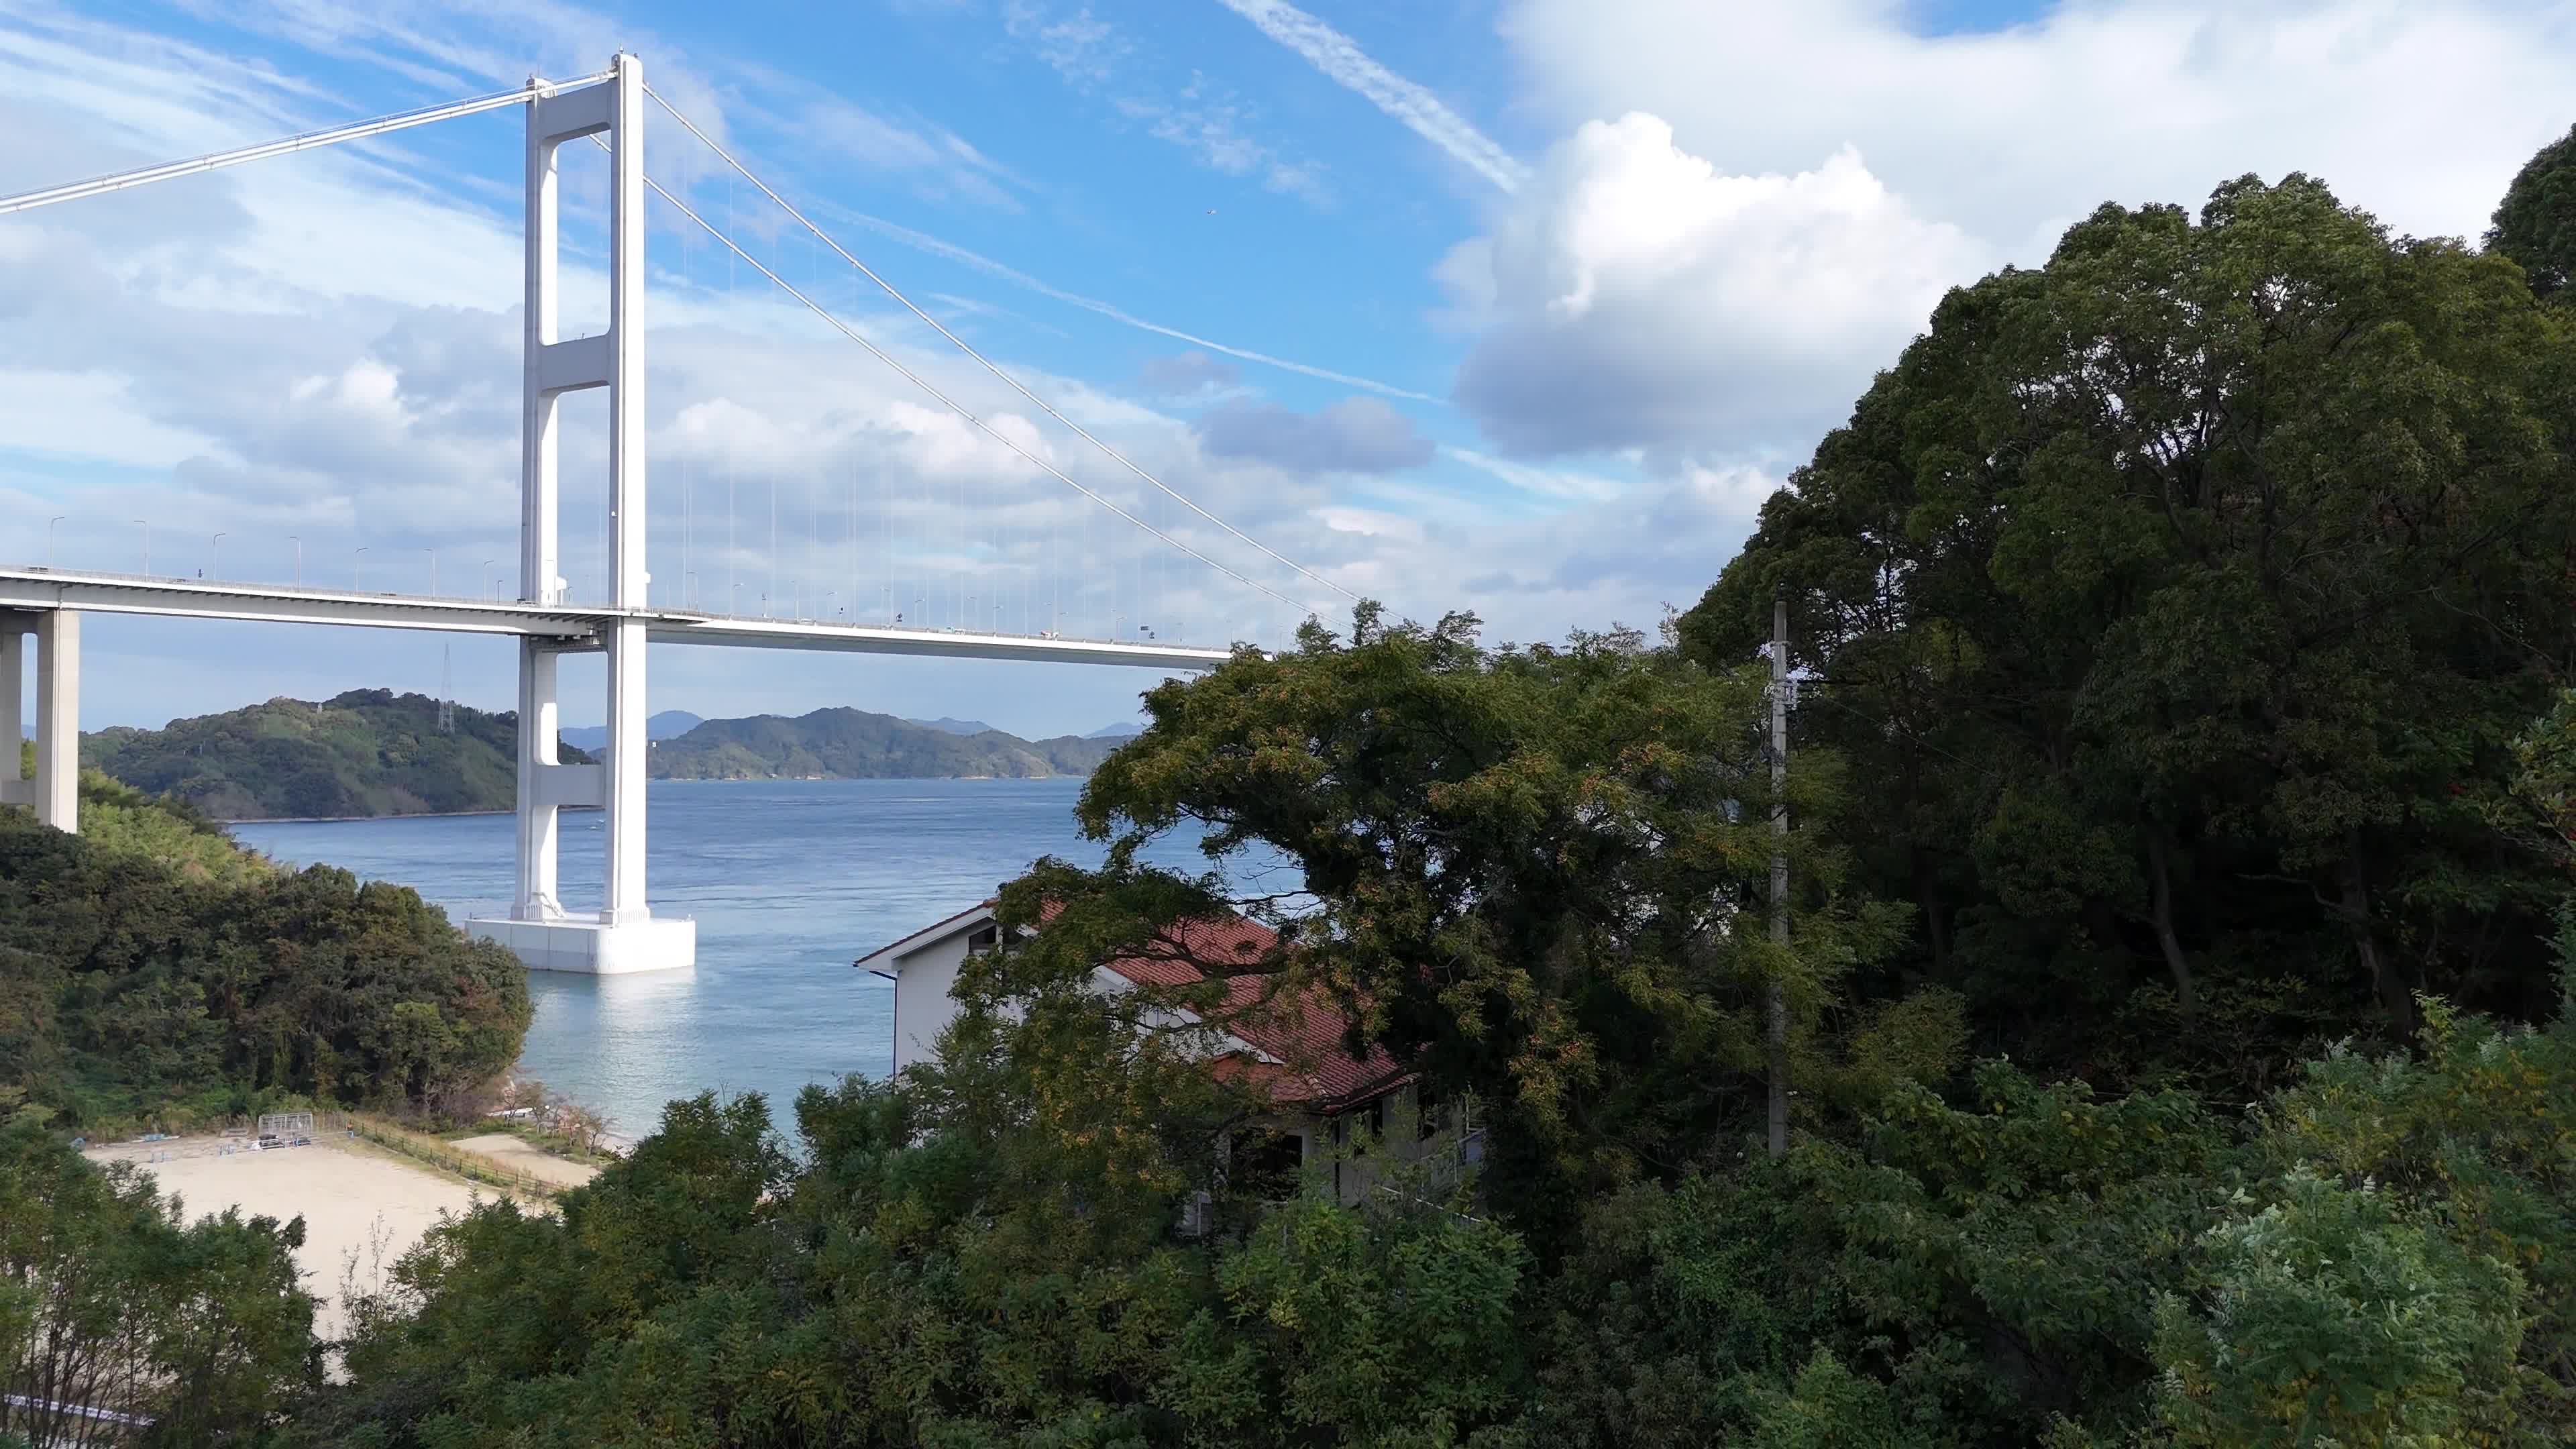
The Shimanami Kaido is a dedicated cycling route connecting Onomichi (Hiroshima Prefecture) and Imabari (Ehime Prefecture). The full route is about 70 km and crosses six islands via long, scenic bridges with separated cycling lanes. It is designed so that first-time riders, families, and long-distance cyclists can all enjoy it safely.
2. Where to Start
You can begin from either side:
Onomichi Side
Start from Onomichi Station.
Take the short ferry across to Mukaishima to begin the cycling route.
Imabari Side
Start from Sunrise Itoyama or Imabari Station.
Sunrise Itoyama is the main rental hub with the largest bicycle selection.
3. Rental Options
You can rent bicycles from the official Shimanami Kaido rental system or from private shops in Onomichi and Imabari.
Types of Bikes Available
Standard city bikes
Electric-assist bicycles
Sports/road bikes
Tandem bikes (limited availability)
Where to Book
Online reservation system operated by the local tourism association
By phone through Sunrise Itoyama or Onomichi rental terminals
Walk-in rental (first-come, first-served)
One-way Return System
You can start in Onomichi and return your bike in Imabari, or the reverse.
There is usually a small one-way return fee.
4. Recommended Distances
Full Route: 70 km
Best for intermediate riders or anyone used to cycling.
Takes 6–10 hours depending on stops and pacing.
Half Route
Popular option:
Imabari → Ōshima → Hakatajima → Ōmishima (or reverse)
Choose any segment and return by bus or ferry if you prefer not to ride round-trip.
Short Route
Families or beginners can choose a single island loop, such as Ikuchijima or Ōmishima.
5. Difficulty and Terrain
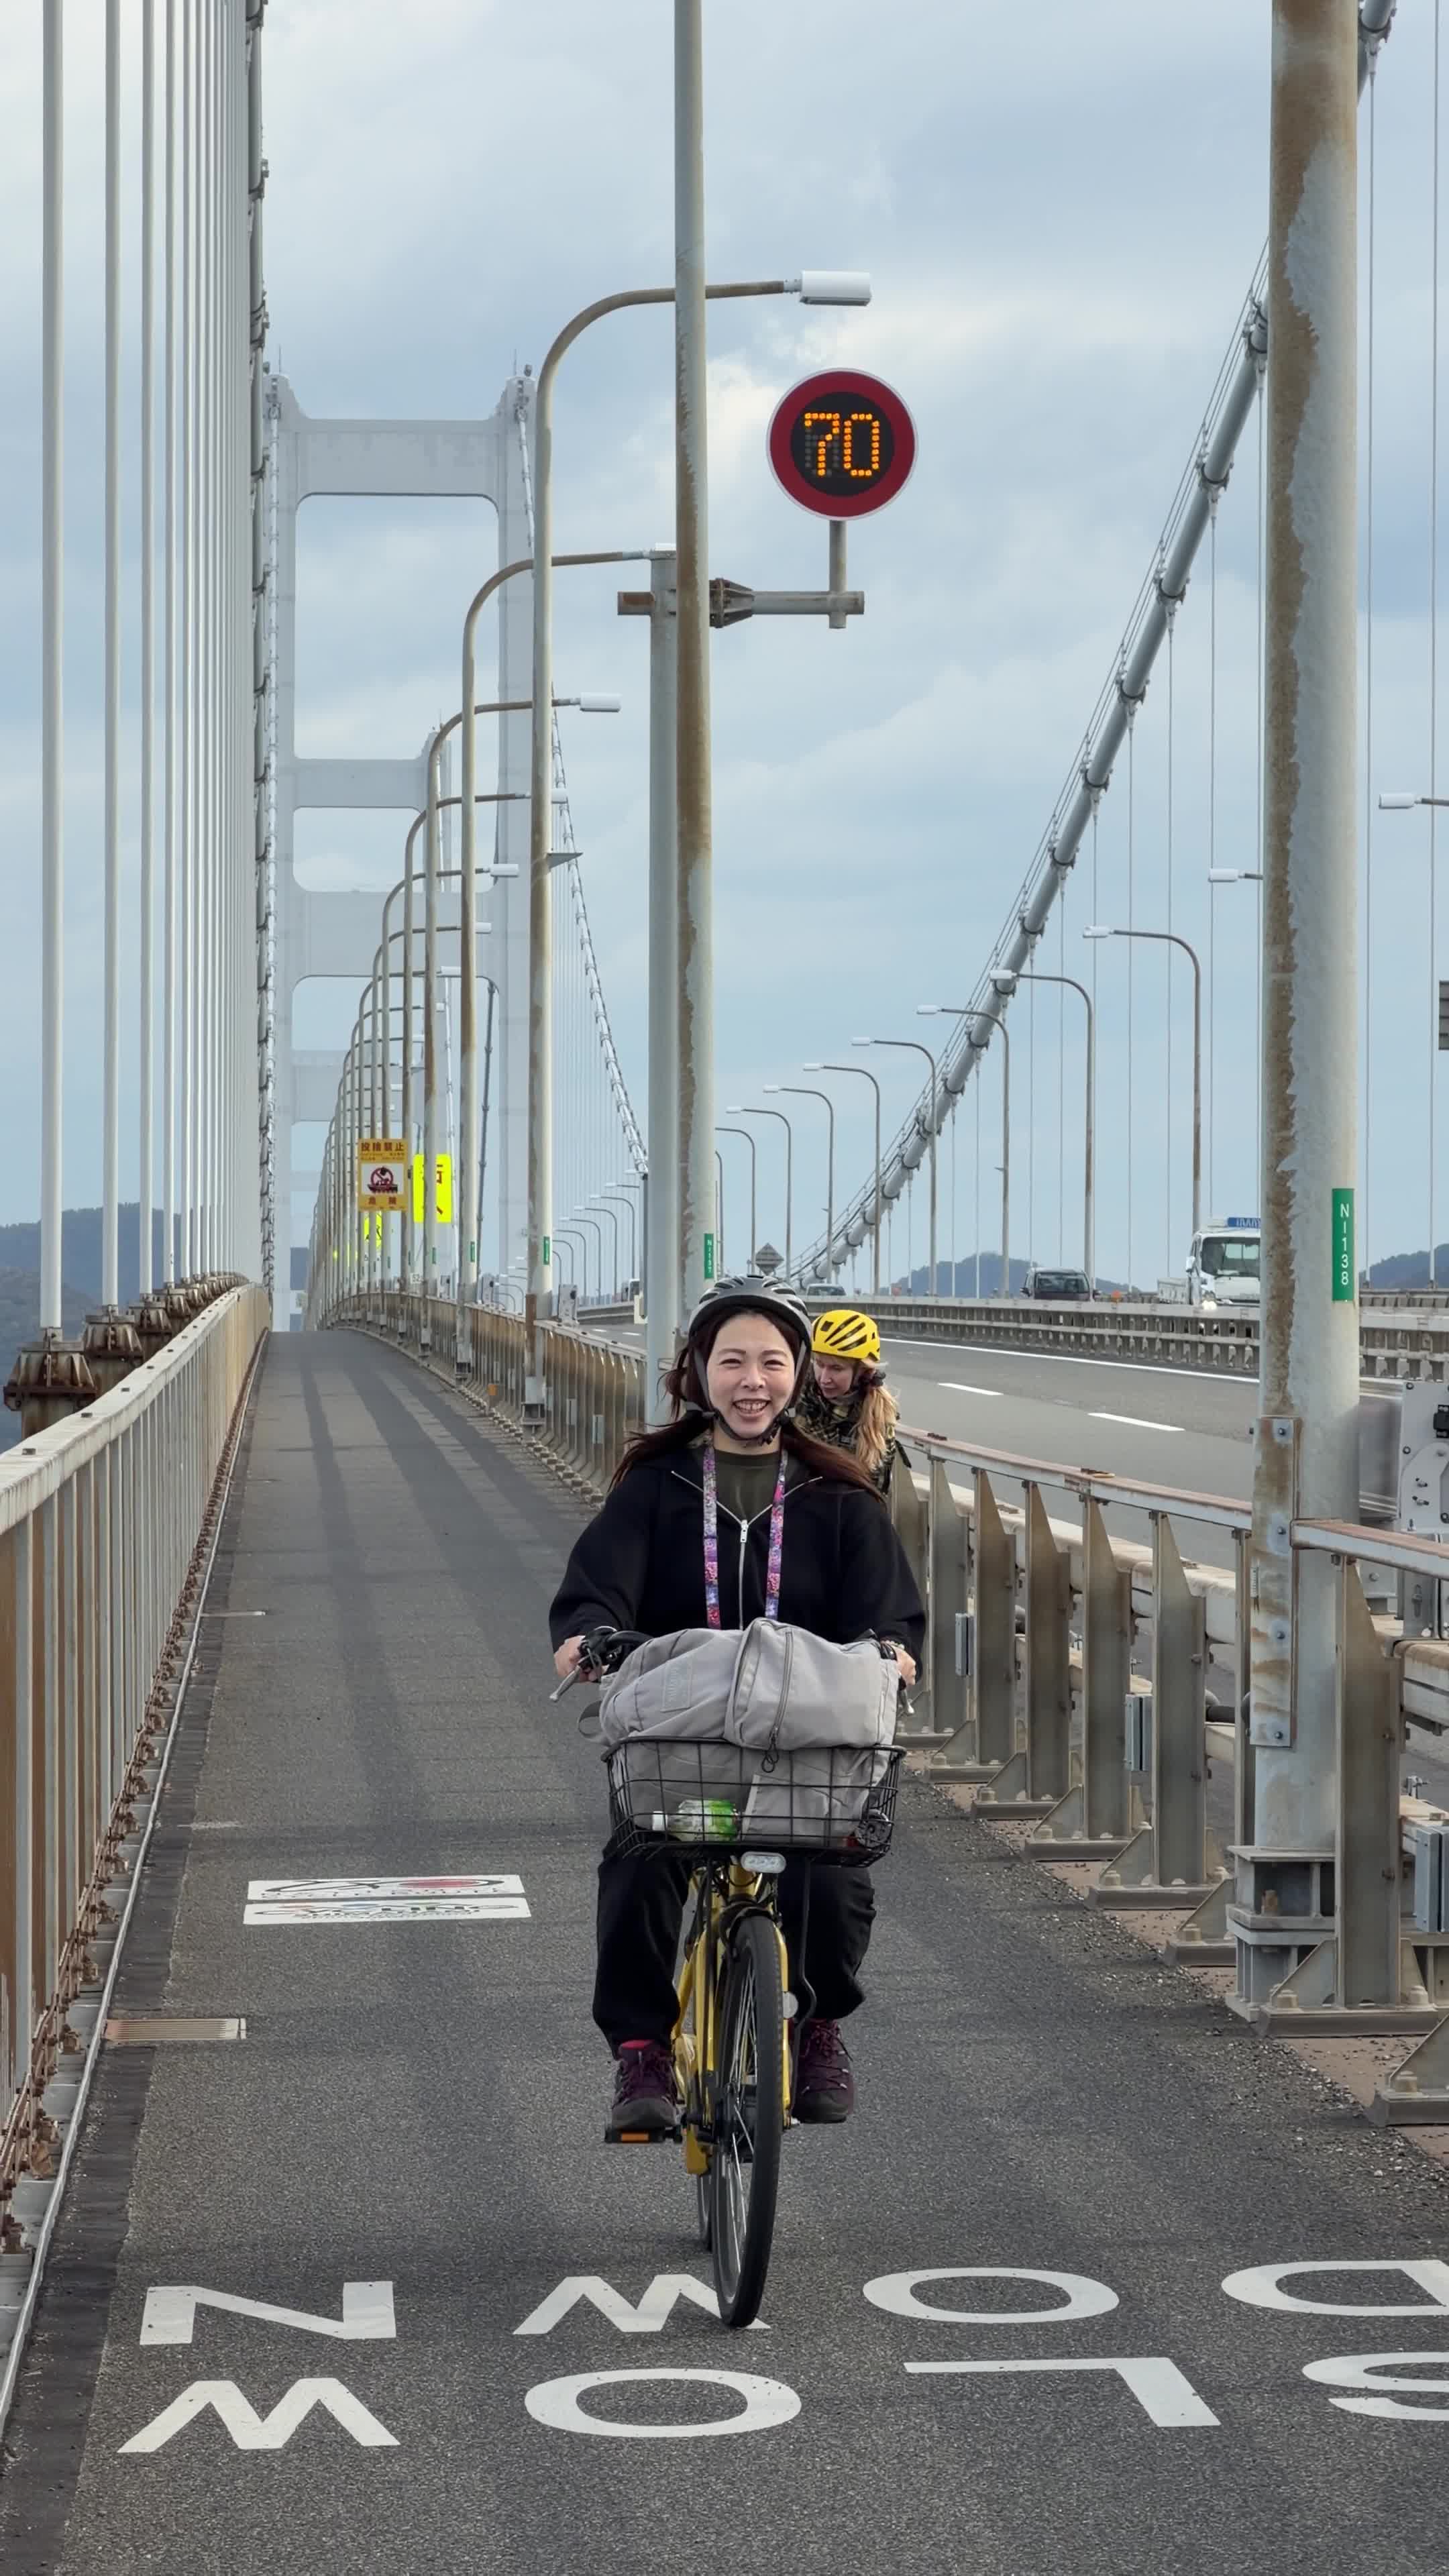
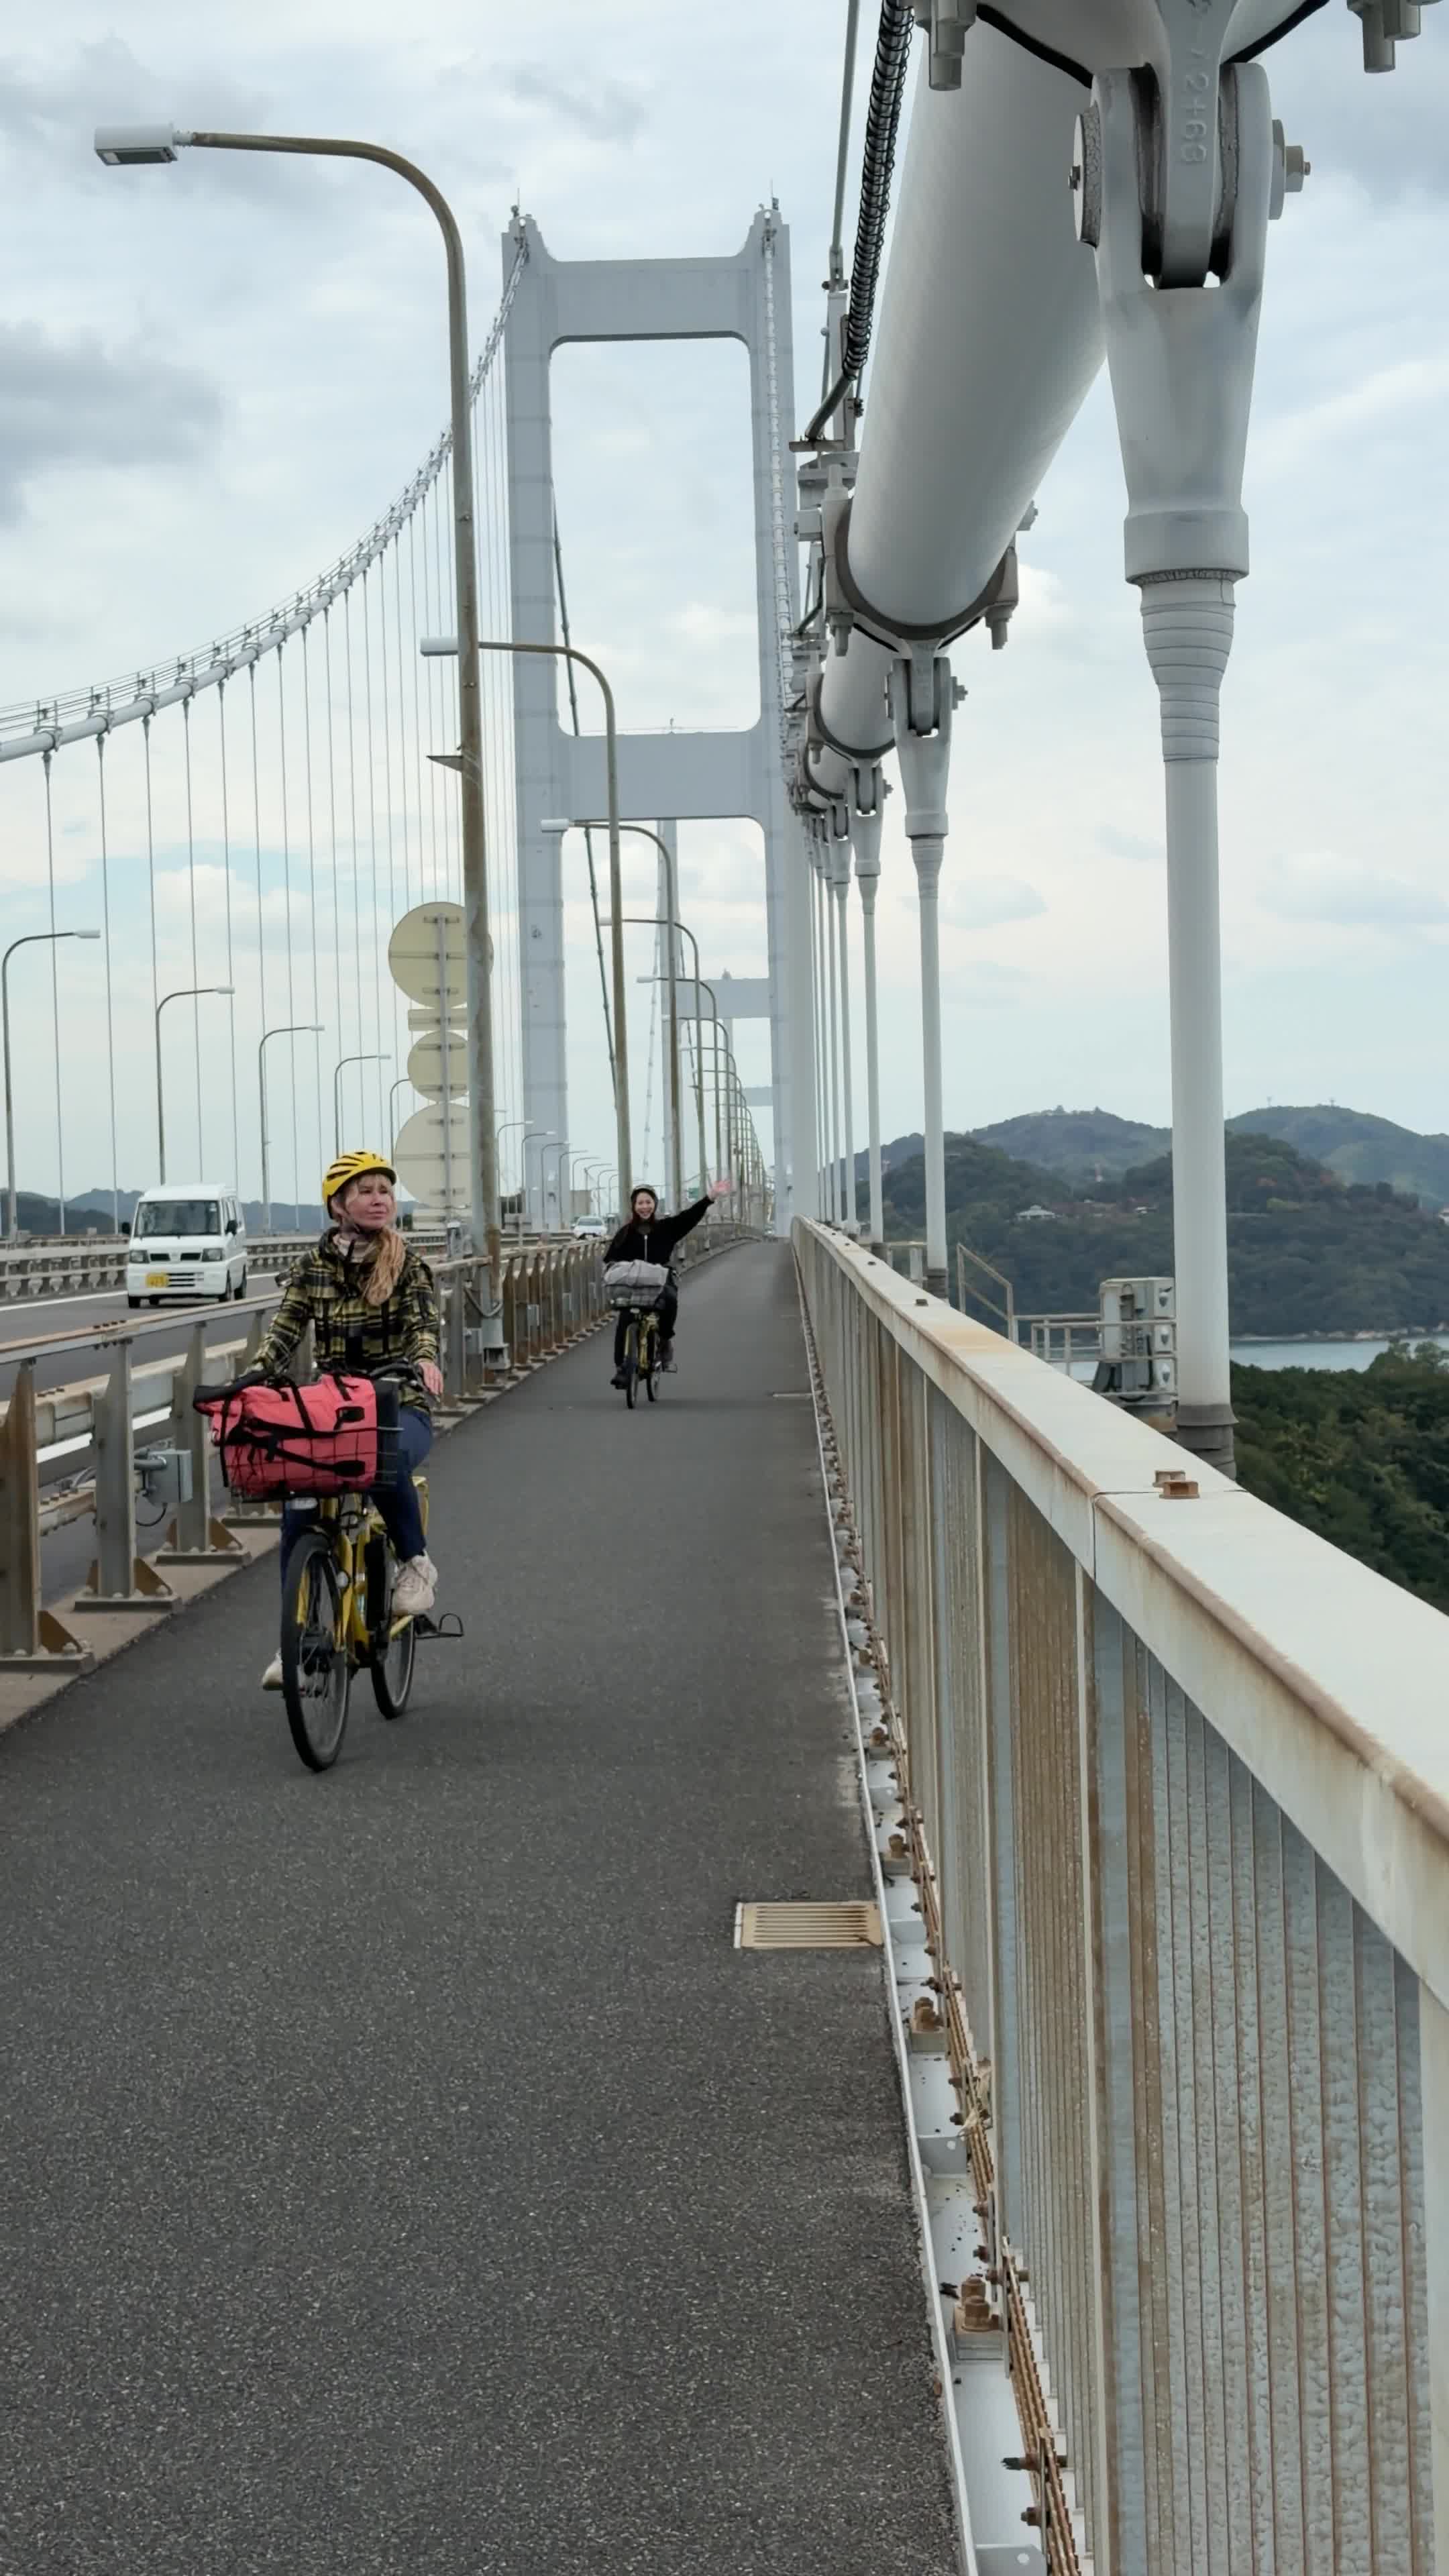
The route is mostly flat, but each bridge has an approach slope.
The slopes are long but gentle, designed for cyclists of all levels.
Bridge Approaches
Wide, safe cycling lanes
Low gradient for easy climbing
Clear direction signs painted directly on the road
6. Navigation
The Shimanami Kaido is one of the easiest cycling routes in Japan to follow.
Markers
A continuous blue line painted on the ground guides you from start to finish.
Direction signs appear before every bridge and major intersection.
Maps
Most rental stations provide a free paper map with distances, rest areas, and points of interest.
7. Food, Water, and Rest Stops
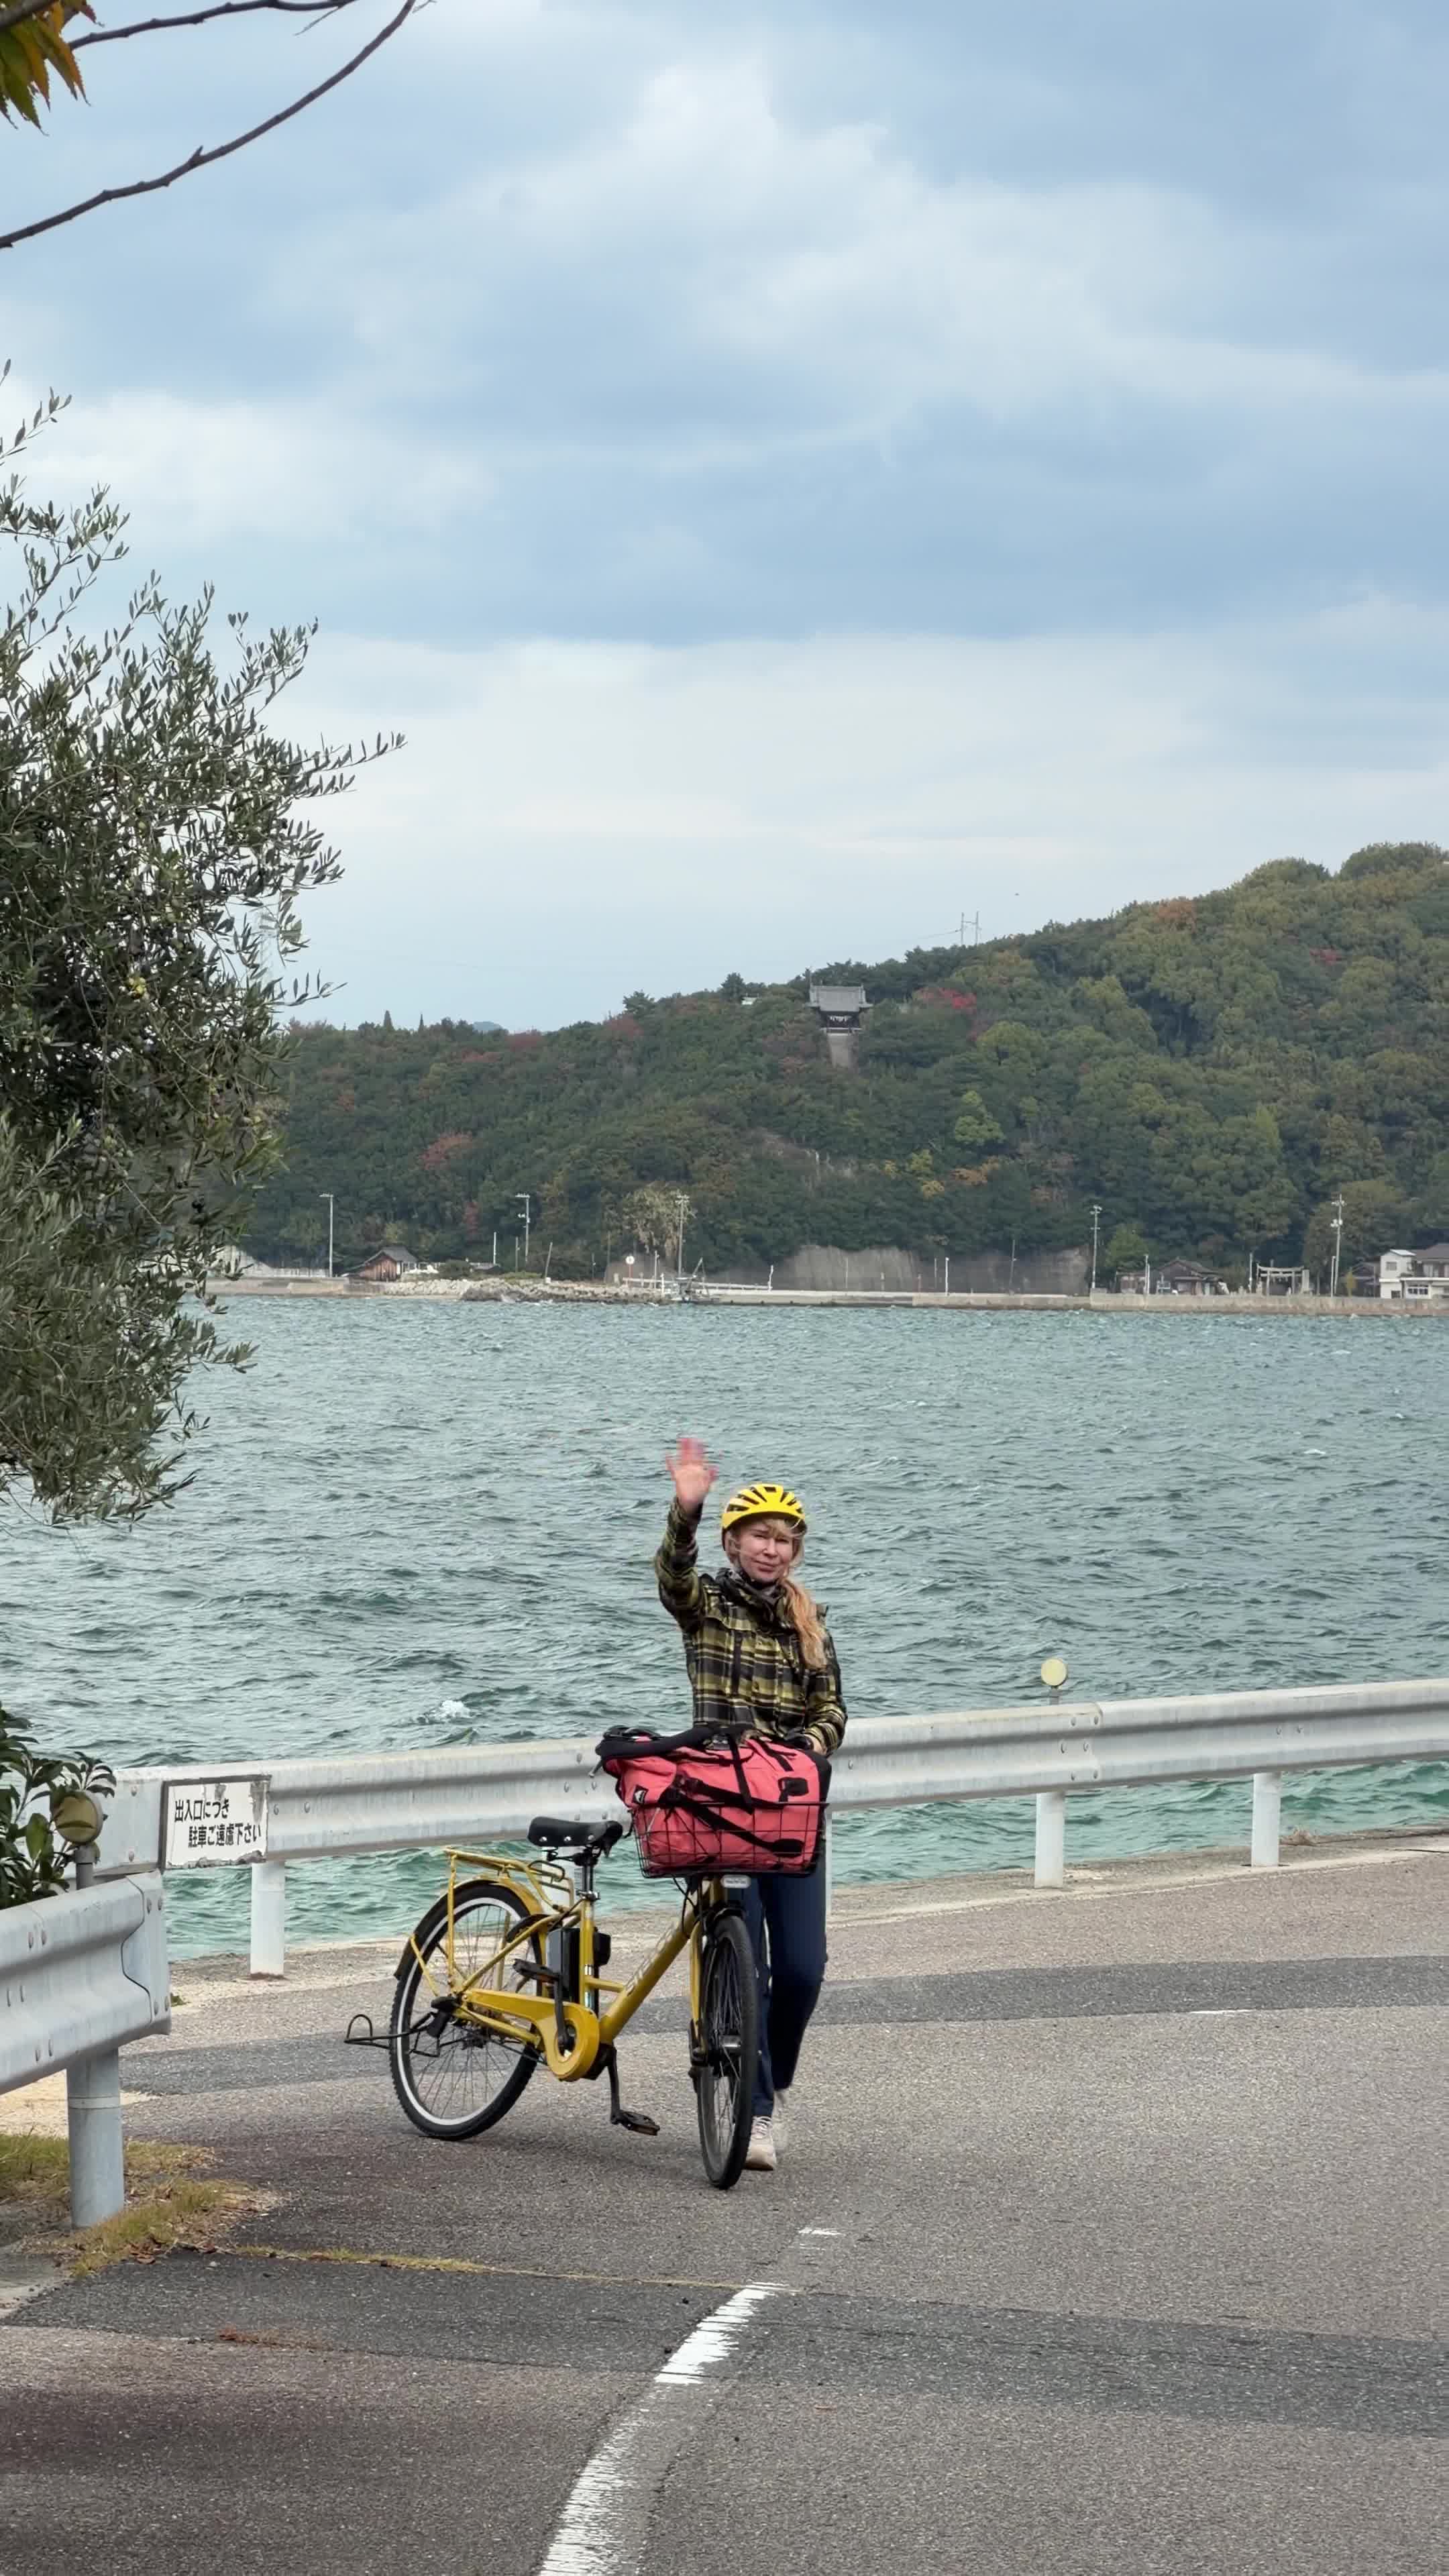
Every island has multiple places to stop:
Convenience stores
Local cafes and seafood restaurants
Roadside stations
Vending machines at nearly every major point
Public rest areas with toilets and benches
It is easy to find food and water along the way, even without planning.
8. Safety Tips
Start early if you’re riding the full route; the sun and wind can be strong.
Wear a helmet (usually provided free with rentals).
Bring sunscreen, a jacket for bridge winds, and cash for small shops.
Bridges can be windy; ride slowly and stay in the designated lane.
Check the return time of your bicycle if using the one-way system.
9. Best Times of Year
Spring
Mild temperatures and flowers.
Autumn
Cool, comfortable weather and beautiful sea views.
Summer
AVOID
Winter
Possible but cold; strong winds on bridges.
10. Ending Your Ride
At the finish point (Imabari or Onomichi):
Return your bicycle to the designated rental terminal.
Pay any one-way return fee or late return fee if applicable.
Receive a simple inspection from staff to confirm no major damage.
Most riders celebrate with local food at the goal point.